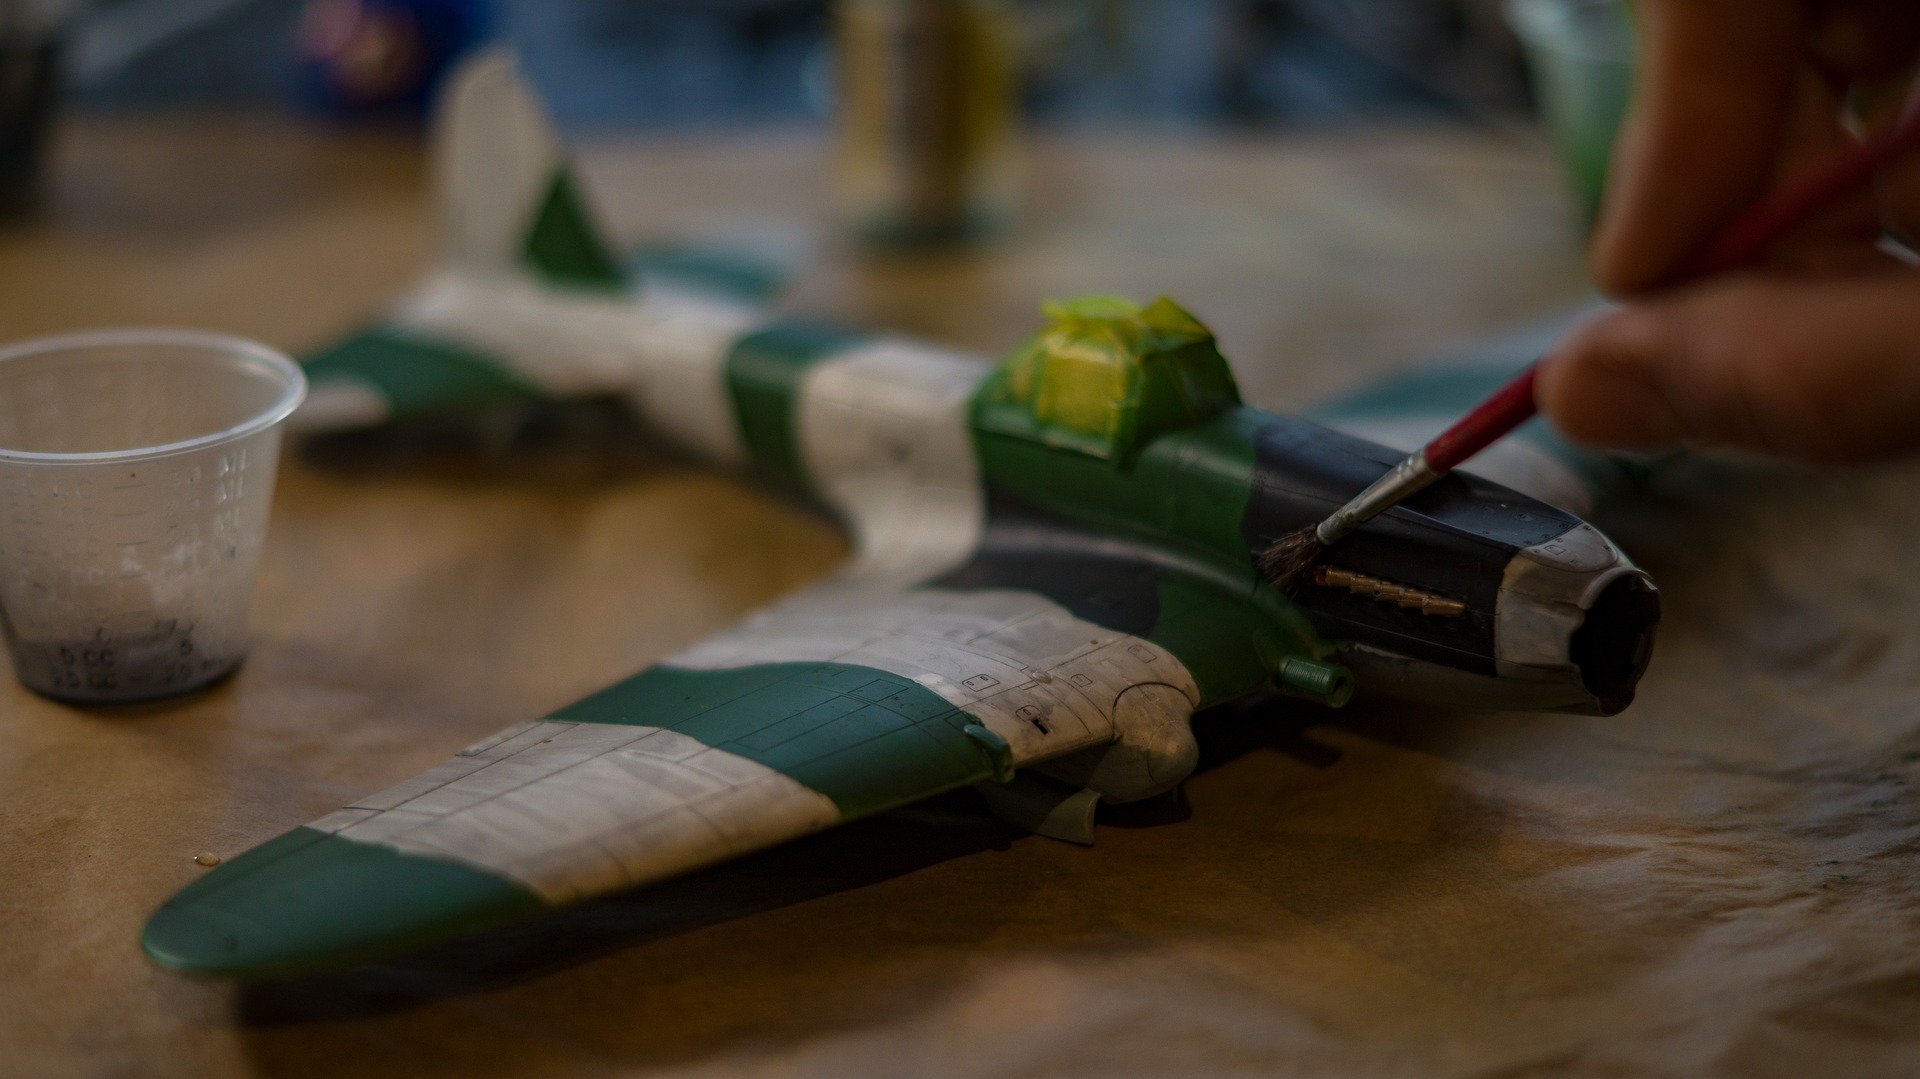
Painting 3D prints is a fantastic way to add vibrant colors and enhance the appearance of your creations. Whether you want to bring out intricate details or simply personalize your models, this article will provide you with a comprehensive guide on how to paint 3D prints. We will cover the preparation process, suitable painting techniques, and essential tips to achieve outstanding results.

Preparing the 3D Print
Before painting your 3D print, it is crucial to prepare the model properly. Here are the recommended steps:
Remove Supports and Unwanted Parts
- If your print has 3D printing supports, carefully remove them using a knife or pliers to avoid damaging other parts of the print. Take your time and exercise caution during this process.
Sanding and Smoothing
- If the print has rough surfaces or visible layer lines, use sandpaper or a sanding sponge to smooth them out. Start with coarse-grit sandpaper and gradually move to finer-grit sandpaper for a smoother finish. This step helps the paint adhere better to the surface.
Cleaning
- Thoroughly clean the 3D print to remove any dust, debris, or oils. You can use isopropyl alcohol or a gentle detergent solution. Ensure the print is completely dry before proceeding.
Choosing the Right Paint
Selecting the appropriate paint is essential for achieving high-quality results. Acrylic paints are a popular choice for painting 3D prints due to their versatility, wide range of colors, and compatibility with various materials like PLA and ABS. Look for paints specifically formulated for plastic or multi-surface use.
Painting Techniques
Priming
- Applying a primer coat helps the paint adhere better to the 3D print surface and provides a smoother base for further layers of paint. Use a spray primer designed for plastic surfaces and apply it evenly, covering the entire model. Allow the primer to dry completely before proceeding.
Base Coating
- Start by applying a base coat of paint that matches your desired color scheme. Thin layers of paint are recommended to avoid obscuring details. Allow each layer to dry before applying additional coats, if needed. Multiple thin layers result in a more professional-looking finish.
Detailing and Layering
- After the base coat is dry, use smaller brushes to add details and layers of paint. This step allows you to highlight specific areas, create shading or gradients, and add depth to your model. Take your time and use reference images or sketches for guidance.
Finishing
- Once you are satisfied with the paintwork, consider applying a clear protective topcoat to seal the paint and provide additional durability. This step helps prevent chipping and enhances the overall longevity of the painted 3D print.
Tips for Success
Work in a Well-Ventilated Area
- It is crucial to have proper ventilation when painting 3D prints to avoid inhaling fumes or harmful particles. Consider working outdoors or in a well-ventilated space and use personal protective equipment such as a respirator and gloves [3].
Test on Scrap or Similar Material
- Before painting your actual 3D print, it is wise to practice on a scrap piece or a similar material to ensure you are satisfied with the color, technique, and overall outcome.
Patience is Key
- Take your time throughout the painting process. Allow each layer of paint to dry thoroughly before proceeding to the next step. Rushing can lead to smudges, uneven finishes, or accidental runs.
Layering and Blending
- Achieving a professional and realistic look often involves layering and blending different colors on the 3D print. To add depth and dimension to your painted model, consider the following techniques:
Wet-on-Wet Blending
- This technique involves applying wet paint onto another wet layer of paint. It allows the colors to blend together smoothly, creating gradients and transitions between shades. Use a soft brush and work quickly to achieve seamless blends.
Dry Brushing
- Dry brushing is a technique where you remove most of the paint from the brush, leaving only a small amount. Lightly drag the brush over raised surfaces, such as textures or edges, to add highlights and accentuate details. This technique works well for creating a weathered or worn effect.
Glazing
- Glazing involves applying transparent or translucent layers of paint over a base coat to modify the color or add subtle effects. Use thin layers and build up the intensity gradually to avoid overpowering the base coat. Glazing can enhance the realism of your 3D print by adding depth and variations in color.
Feathering and Smudging
- These techniques are useful for creating smooth transitions between colors or blending different areas together. Feathering involves lightly brushing one color into another, gradually reducing the intensity. Smudging can be done with a soft cloth or sponge to soften edges and create a more natural appearance.
Remember, practice and experimentation are key to mastering these techniques. Don't be afraid to try different approaches and find what works best for your desired outcome.
